Manage roles and users
Roles decide what people on your team are allowed to do in Rational AI. Users are the accounts those roles apply to. This guide walks through tuning the permissions on a role and creating a user with a password you control.
A role is a named bundle of permissions. Every permission is granted or revoked on its own, so you can shape exactly what a role can see and do. A user is an individual account that signs in to Rational AI, and each user is governed by the role you assign to it.
Prerequisites
- Administrative access: an account with privileges to manage settings, roles, and users.
Configure roles
Adjust a role's permissions when a group of people needs more or less access than it currently has. You do this from one screen, the permissions matrix, where every permission is an independent toggle.
- Go to Settings → Roles.
- Select the role you want to configure from the list.
- In the permissions matrix, use the chip controls to grant or revoke each permission. Each chip toggles a single permission on or off.
- Repeat for any other roles you need to adjust.
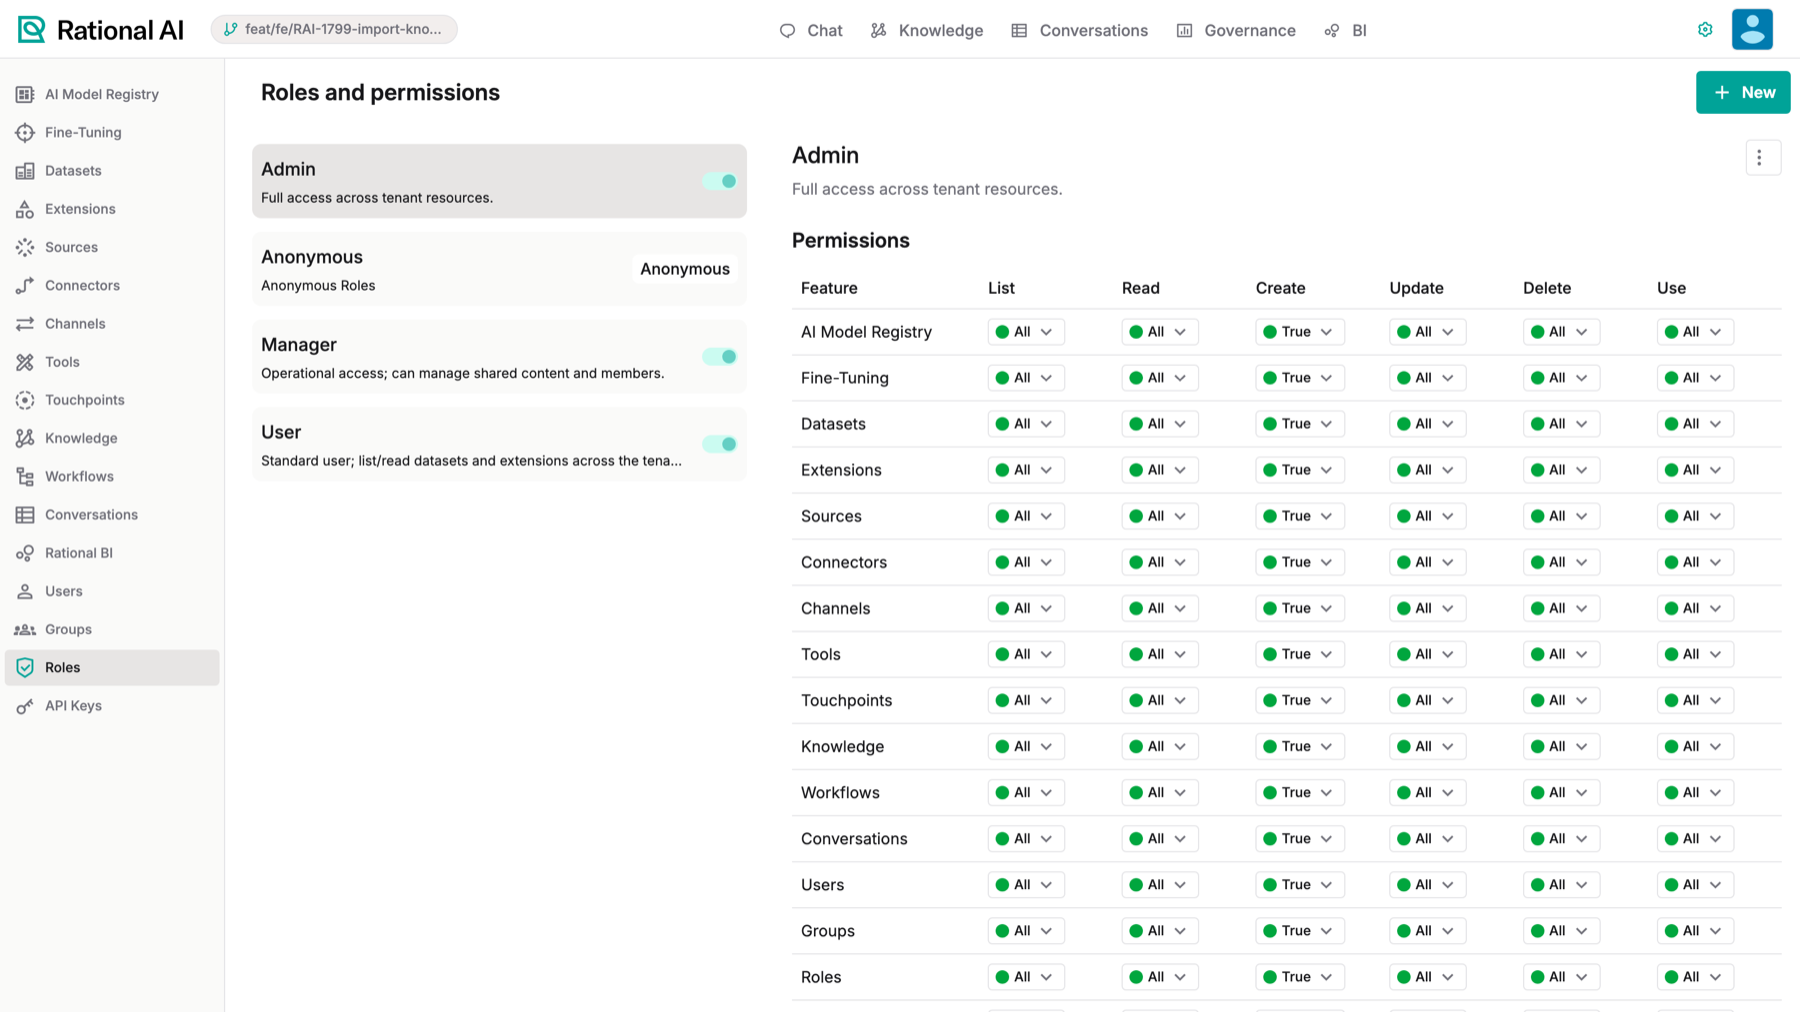
Roles and permissions: built-in roles on the left, the permission matrix (per feature: List, Read, Create, Update, Delete, Use) for the selected role on the right.
Toggling a chip changes only that one permission, nothing else. Scan the whole matrix for a role so its access lines up with what that group actually needs, rather than checking a single chip in isolation.
Grant access to Rational BI
Rational BI is governed by four rows of the same matrix, sitting together just after Touchpoints:
- BI projects — the projects themselves: seeing the project list, opening one, creating and deleting them.
- BI defaults — the tenant-wide BI configuration under Settings → Rational BI → BI defaults.
- Dashboards — the dashboards inside a project.
- Reports — the reports generated from those dashboards.
Each row carries the same List, Read, Create, Update, Delete, and Use columns as every other feature.
Granting BI projects alone gets someone as far as opening a project and finding it empty — the dashboards inside it are governed by their own row. For a role that should build BI, grant the create and update actions on BI projects, Dashboards, and Reports together; leave BI defaults to administrators, since it changes the configuration every project inherits.
Create a user
Add a user to give someone their own account to sign in with. When you create the account, you set its first password yourself instead of handing over an auto-generated value you never see.
Set the password
A random password is generated the moment the Create new user dialog opens, so a working password already exists before you touch anything. The subtitle says as much: "A random password is generated automatically, but you can change it."
- Open the Create new user dialog and fill in the user's details.
- In the Password field, keep the generated password or type your own. The field is editable and required.
- Use the copy button inside the field to grab the current password value when you need to share it with the user.
Decide how the first sign-in works
Leave Require password change at first login checked if you want the user to set their own password the first time they sign in. It is checked by default, so the user lands on a password-reset prompt and the value you shared is only ever temporary.
If you uncheck it, the password you set is the one the user keeps until they change it themselves.
Create the account
Submit the dialog to create the user. The account is created with the role and password you chose.
Because a password is generated automatically, you can leave the Password field untouched and still create a valid account. Only type in it when you need a specific value.
Organize users into groups
Settings → Groups lets you organize users into groups so you can manage permissions in bulk: instead of granting access user by user, you assign rights to a whole group at once, which keeps access consistent across everyone in it. The page lists your groups with their Name, Description, and Users count, and a fresh tenant simply shows "No groups yet" until you add one. To create a group, click New, give it a Name and a Description, and then add the users who belong to it. Keep in mind that a user's effective permissions come from their role combined with any groups they belong to, so it is worth reviewing both when you check what someone can do.
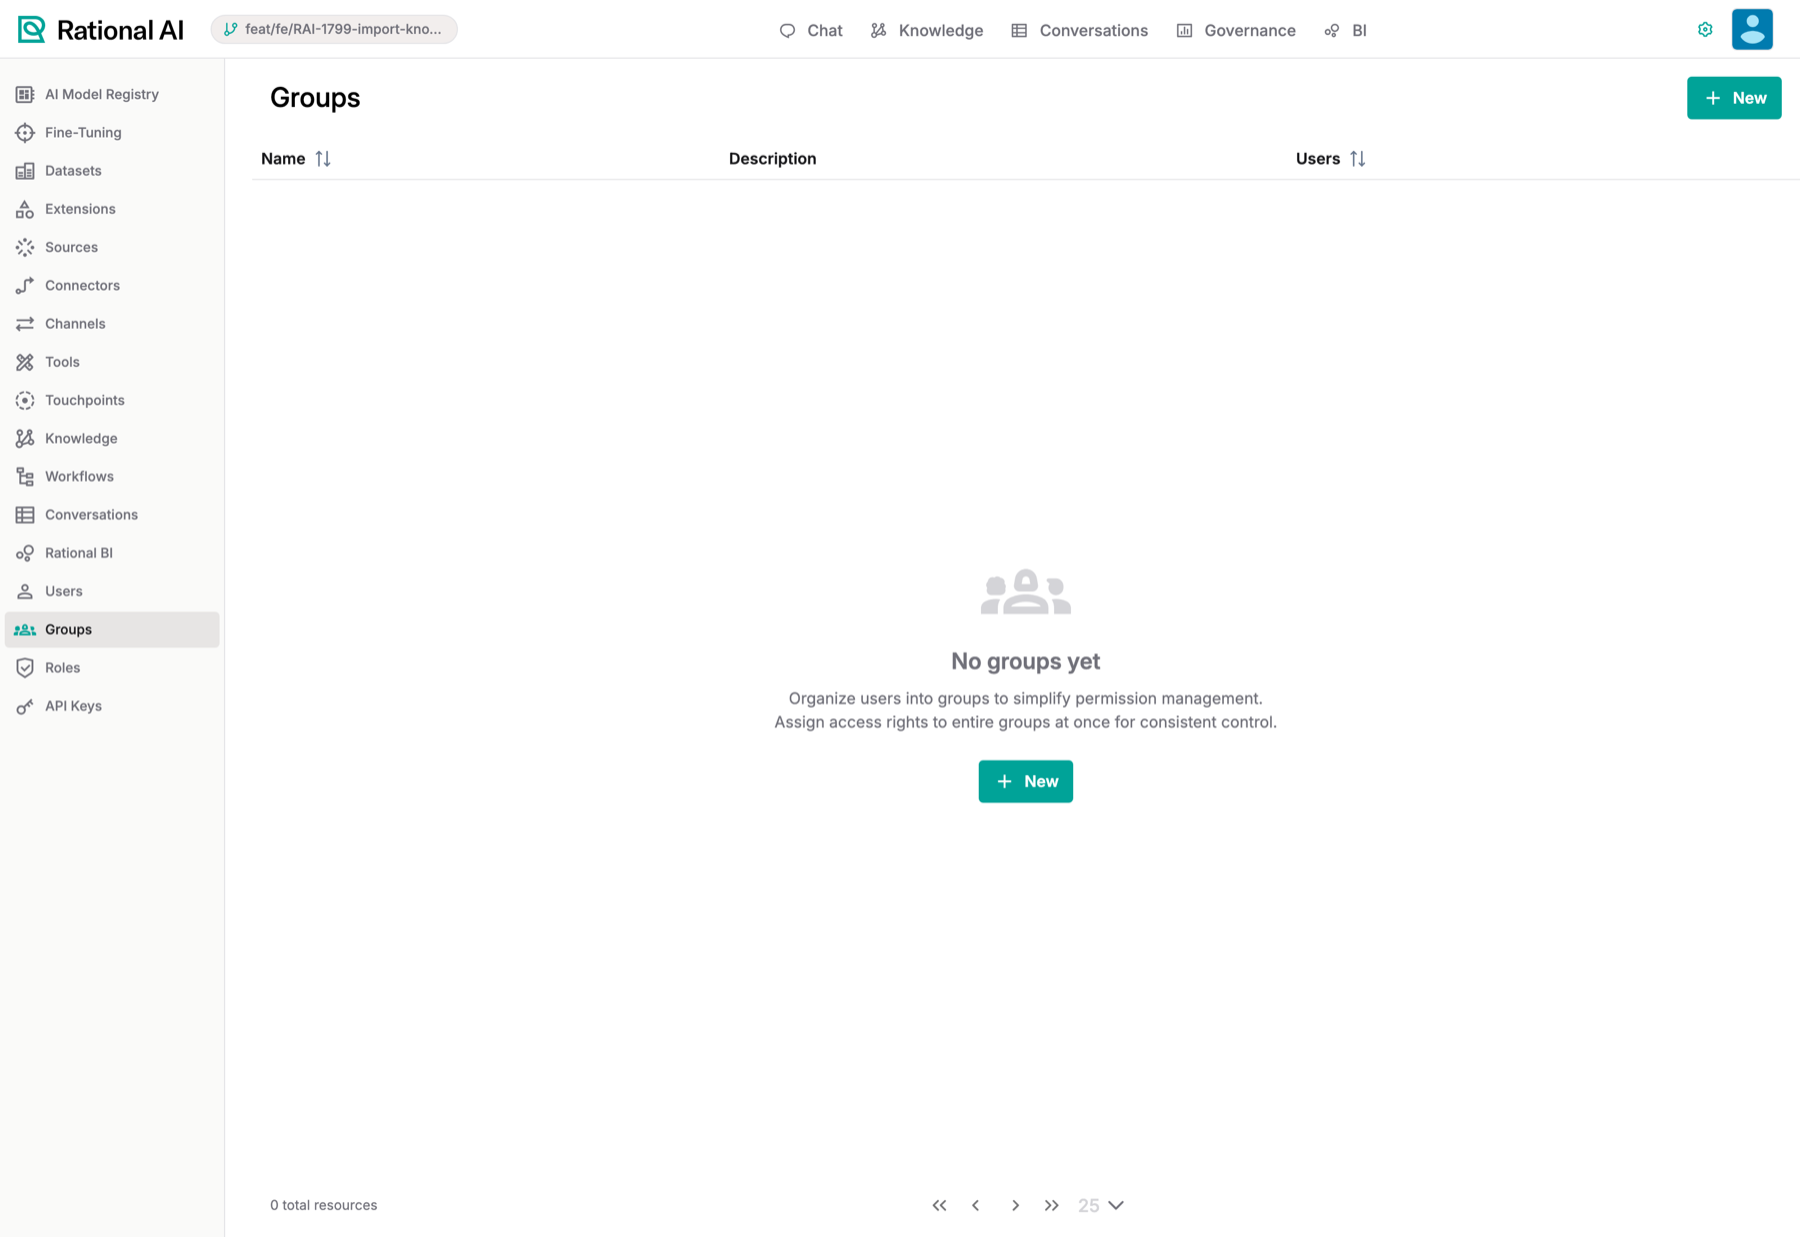
Settings → Groups: organize users into groups so you can assign permissions in bulk.
Remove a user
The row menu on the users page offers two operations that sound similar and are not. Which one you want depends on why the account is going.
| Delete user | Erase all data | |
|---|---|---|
| Use it when | Someone leaves the organisation | Someone exercises a right to erasure |
| Their conversations | Kept, detached from the account | Deleted |
| Their identifiers on recorded model calls | Kept | Cleared |
Delete user is the routine one: it closes the account and leaves the conversations the person handled standing, because a leaver is not a reason to destroy the business record of their work.
Erase all data is the rare, deliberate one that reaches the content. It's irreversible, it reports what it removed, and it records itself in the audit trail. Before running it, read Erase a person's data, which covers exactly what it destroys and what it leaves behind.
Each operation removes the account from your identity provider as well. If the provider can't be reached, the whole request fails and nothing changes on either side — so you can simply retry once it's back, rather than being left with an account that still authenticates but no longer exists here.
Result
You have a set of roles whose permissions match what each group can do, and a new user account secured with a password you either accepted or chose. If you left Require password change at first login checked, the user is prompted to change the password on their first sign-in. You also know which of the two removal operations to reach for when an account has to go, and that only one of them touches the person's conversations.