Manage knowledge resources
A Knowledge fills up over time — files get uploaded, sources get synced, and before long you have a lot to keep track of. This guide covers the everyday housekeeping: choosing which view a Knowledge opens in, finding and bulk-deleting resources from the files table, removing a single resource from its card, adding uploaded files straight in as resources, editing a resource without losing your curation, getting started from an empty Knowledge, and arranging the table columns to suit how you work.
A resource is a single curated item inside a Knowledge — usually a file that has been processed into a form the AI can search and quote from. You work with resources through three views of a Knowledge: the files table (a sortable list), the attribute view (one card per resource), and the graph view (a visual map). The tasks below all live in one of these three.
Prerequisites
Before you start, make sure you have:
- Administrative access: an account with Knowledge management privileges.
- A Knowledge to work in: open the Knowledge tab from the main navigation and select the card for the Knowledge you want to manage.
Choose which view a Knowledge opens in
Opening a Knowledge lands you on its Attributes list — one card per resource — because that is the default. A graph is the better first impression for a small, richly connected Knowledge; a list is the better one for a few thousand documents. The choice is per Knowledge, so make it once and everyone opening that Knowledge gets it.
- Open the Knowledge's settings and select the Views tab (see Custom views for everything else on that tab).
- Under Built-in views, select the Default radio on Graph view or Attributes list.
- Select Save.
The Default radio and the on/off toggle are independent controls, so it is possible to make a view the default and then disable it. Rather than opening on nothing, the Knowledge falls back to an enabled built-in view. The setting also travels with the Knowledge: duplicate, export, or import it and the default view comes along.
Work with the files table
The files table is the fastest way to see everything in a Knowledge at a glance, and the right place to clean house when you have many resources to act on at once.
Sort the list
Sorting helps you spot the largest files, the stale ones, or a specific resource by name.
- Open the Knowledge and go to its files table.
- Select a column header to sort by it. The Name, Updated at, and Size columns are sortable.
Select resources
Selection is how you tell the table which resources a bulk action should apply to.
- Tick the row checkboxes for the resources you want.
- To grab everything at once, use the header checkbox. When only some rows are selected, it shows an indeterminate state so you can tell at a glance that the selection is partial.
- Check the selected-count indicator to confirm how many rows you have chosen before you act on them.
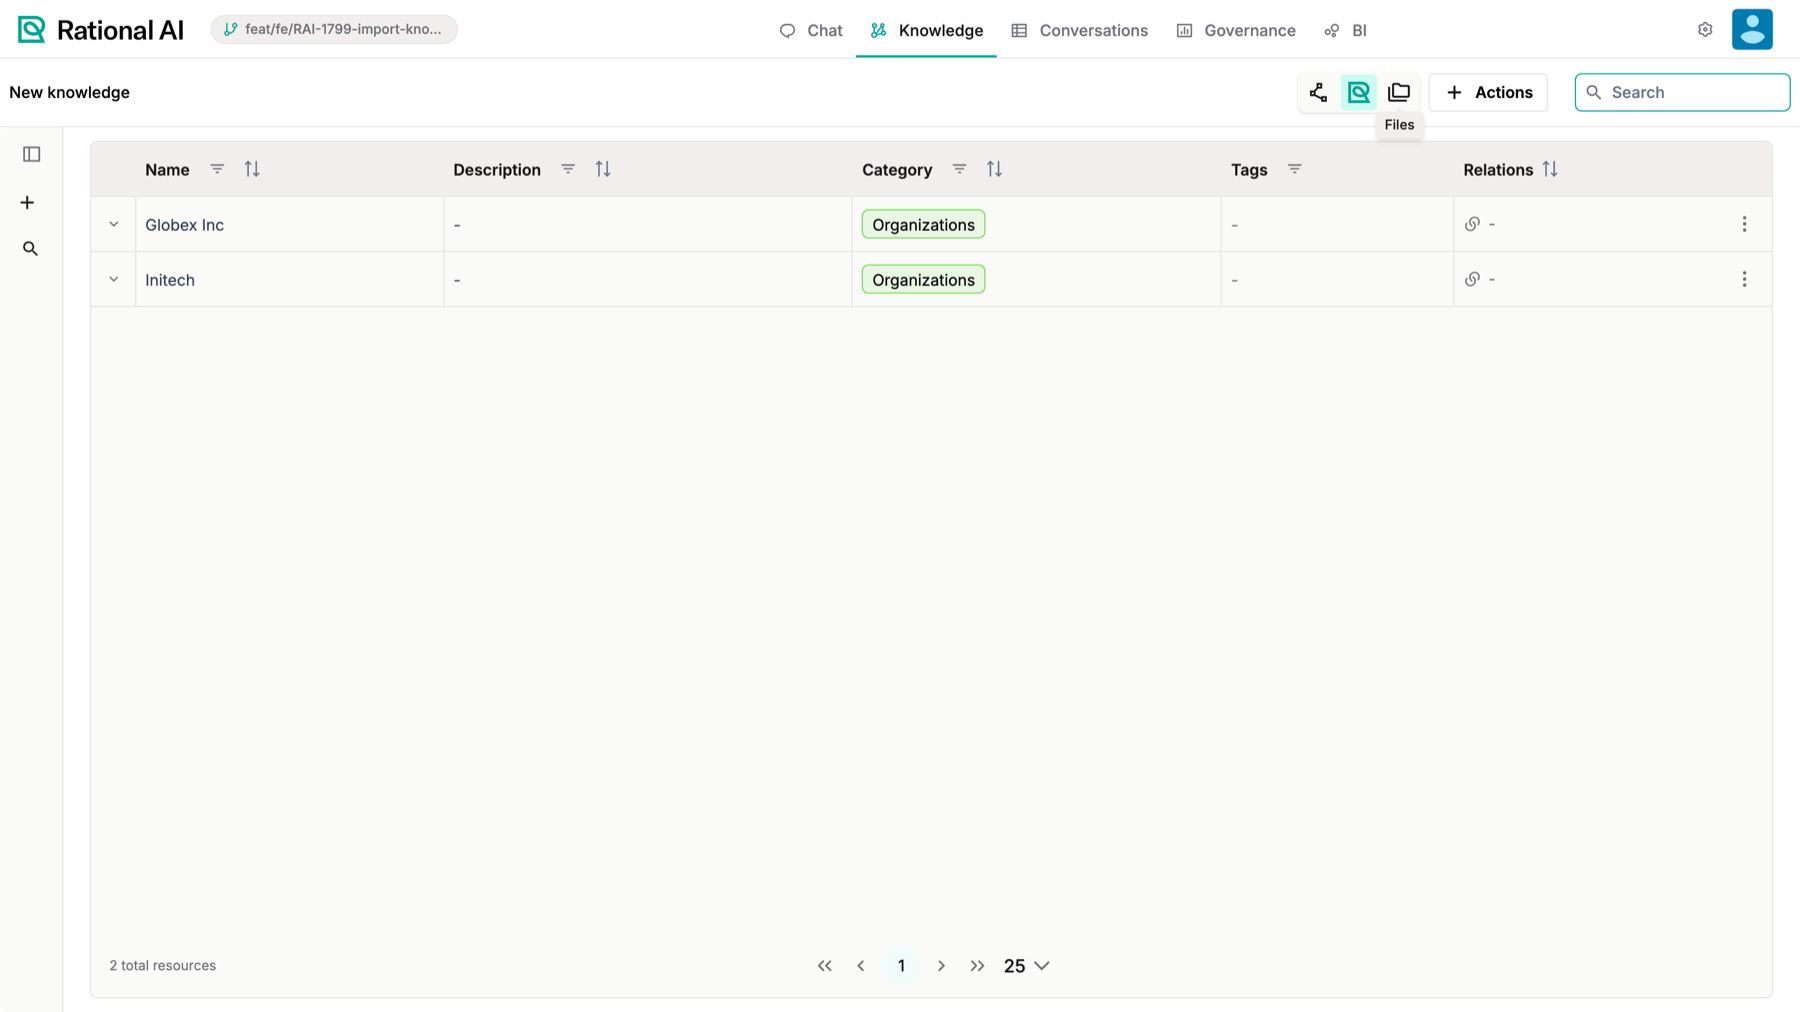
A Knowledge in table view: each row is a resource, with Name, Description, Category, Tags and Relations.
The table box and rows are transparent, so the surface colour shows through; status chips follow the design palette; and the Size column sits on its own, next to the ⋮ context menu.
Bulk delete resources
When you have several resources to remove, delete them together instead of one at a time.
- Select one or more rows using the checkboxes.
- Select the Delete selected action.
- Confirm the deletion in the dialog that appears.
Delete a single resource from the attribute view
When you only need to remove one resource, you can do it straight from its card in the attribute view — no need to switch to the table.
- Open the Knowledge's attribute view.
- On the resource card, open the ⋮ (kebab) menu — the same menu that holds See details, Mark as hidden, and — for resources you can remove — Delete.
- Select Delete.
- In the Confirm deletion dialog, confirm with the critical-styled button.
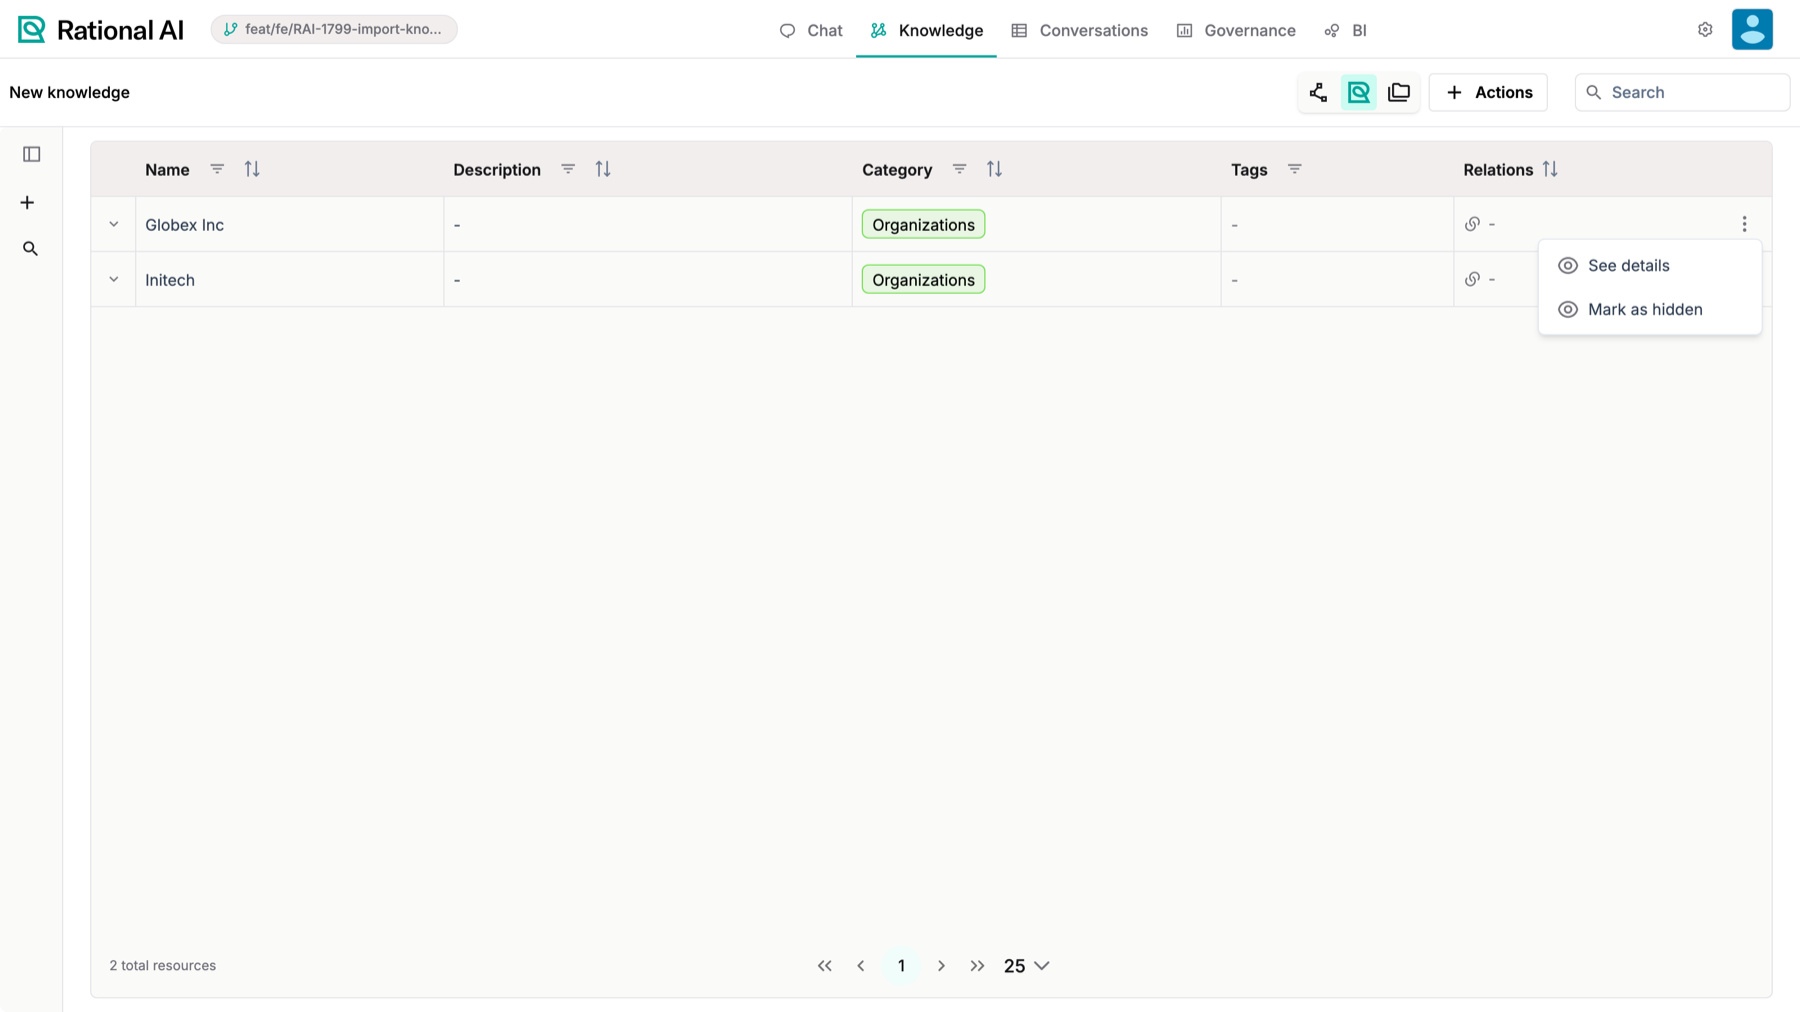
The options menu on a resource row: See details and Mark as hidden.
The resource is removed, the list reloads, and you see the Resource deleted successfully toast. If the deletion fails, an error toast appears instead.
Upload files as resources
Normally an uploaded file runs through a workflow — an automated set of steps that transforms it before it enters the Knowledge. But sometimes a file is already exactly what you want stored, and routing it through a workflow would only get in the way. The upload dialog lets you add such files directly as curated resources.
- Open the upload dialog for the Knowledge.
- Upload — select and upload your files.
- Review — for each uploaded file, choose one of:
- assign a processing workflow from the dropdown (it also includes a Skip workflow option), or
- leave the workflow unset and tick Add as resource.
- Confirm. Files with a workflow run that workflow; files marked Add as resource are created as resources directly.
If you cancel at the review step, the files you already uploaded are deleted, so nothing is left orphaned in the Knowledge.
Edit a resource without losing your curation
Editing a file's content in the Knowledge raises an obvious worry: the answers your AI gives come from chunks and embeddings derived from that file, so a stale index means the AI keeps quoting text you just corrected. Saving an edit therefore reindexes the resources built from that file — the latest bytes are converted, the generated content chunks are replaced, and everything is chunked and embedded again, so AI Search reflects your edit.
What it deliberately does not do is re-run the file's processing rules and workflows. Saving an edit is not a reprocess, so:
- Content you wrote by hand stays as you wrote it — a workflow doesn't get a second chance to overwrite it.
- Your annotations survive. Only the generated content chunks are cleared; annotations you authored, and attribute metadata, are kept.
- Attributes and the knowledge database are untouched.
Reprocessing the Knowledge — or letting a scheduled sync do it — is still the way to re-run the full pipeline when that is what you actually want.
You don't have to reprocess by hand after new content arrives either: when a source finishes syncing, the Knowledges it feeds are refreshed, so freshly synced files become searchable on their own.
A .db file uploaded to a Knowledge is loaded into a Knowledge Database. That file can legitimately be processed again — by a manual reprocess or a scheduled sync — and doing so no longer drops the database it produced. The processing runs against a database that is still there.
Start from an empty Knowledge
A brand-new Knowledge has nothing to show in the graph view, so instead of a blank canvas it offers a guided empty state — with the zoom toolbar hidden — that points you toward your first resources.
- Open the graph view on a Knowledge that has no resources.
- From the centred empty state, choose an action:
- Add manually — opens the upload dialog so you can add resources; the graph reloads once they are in.
- Go to settings — takes you to the Knowledge settings, where you can connect and sync a source.
Reorder the attributes table columns
Put the columns you check most often where you can see them first. The attribute view's table lets you drag columns into any order you like, and remembers your choice.
- Open the Knowledge's attribute view table.
- Drag a column header left or right. A vertical marker shows where the column will land.
- Release to drop the column into its new position.
The sticky first cell and the trailing actions menu stay fixed — they can't be dragged or displaced. Sorting still works on the Name column even though it's draggable too, and your column order is saved in the browser, so it survives a page reload.
Result
You can now keep a Knowledge tidy from whichever view you happen to be in: choose the view it opens in, sort and bulk-delete from the files table, remove a single resource from its card, add uploaded files straight in as resources, edit a resource and have it reindexed without losing your curation, get a new Knowledge moving from the graph view, and arrange the attributes table columns to match how you work.